
WordPress Multisite is a powerful feature that allows you to create and manage multiple WordPress websites from a single WordPress installation. Whether you’re running a network of blogs or handling multiple client sites, Multisite can help you manage everything in one place.
Follow this step-by-step guide to enable and set up WordPress Multisite.
Step 1: Back Up Your Site
Before making any major changes to your website, it’s always a good idea to back up your site. This includes both the database and the files. You can use plugins like UpdraftPlus or manual backup methods to ensure you don’t lose any important data during the process.
Step 2: Deactivate All Plugins
To avoid any issues with plugins after enabling Multisite, deactivate all of them first. This can be done by going to Plugins > Installed Plugins in your WordPress admin panel and selecting “Deactivate” for each plugin.
Step 3: Update Your wp-config.php File
To enable Multisite, you need to modify your wp-config.php file. This file is located in the root directory of your WordPress installation. You’ll add a line of code to enable the Multisite feature.
- Access Your WordPress Root Directory
You can do this via FTP or using the File Manager in your hosting control panel. - Edit
wp-config.php
Open thewp-config.phpfile and add the following line just above the line that says “/* That’s all, stop editing! Happy blogging. */”:define('WP_ALLOW_MULTISITE', true);Save the changes.
Step 4: Install the Network
Once you’ve updated the wp-config.php file, the next step is to install the network.
- Login to WordPress Admin
Go to your WordPress dashboard (e.g.,yourwebsite.com/wp-admin). - Navigate to the Network Setup Screen
In the WordPress admin, go to Tools > Network Setup. If you don’t see this option, make sure you added the code in Step 3 correctly. - Choose Your Network Settings
You will be asked to choose between subdomains or subdirectories for your network.- Subdomains (e.g., site1.yoursite.com): Best for larger networks.
- Subdirectories (e.g., yoursite.com/site1): Ideal for smaller networks or new users.
- Fill in the Network Title and Admin Email
Enter the title for your network and the email address for the network admin. - Click “Install”
Once you’ve filled in the details, click the “Install” button to proceed.
Step 5: Update wp-config.php and .htaccess
After clicking “Install,” WordPress will provide you with some code to add to your wp-config.php and .htaccess files.
- Edit
wp-config.php
Copy the code provided by WordPress (usually two lines) and paste it below the line you added earlier in thewp-config.phpfile. Save the changes. Example code to add:define('MULTISITE', true); define('SUBDOMAIN_INSTALL', false); // Set to true if you're using subdomains $base = '/'; define('DOMAIN_CURRENT_SITE', 'yourwebsite.com'); define('PATH_CURRENT_SITE', '/'); define('SITE_ID_CURRENT_SITE', 1); define('BLOG_ID_CURRENT_SITE', 1); - Edit
.htaccess
Next, you’ll need to update your.htaccessfile. If you don’t already have a.htaccessfile, create one in the root directory of your WordPress installation. Copy the code provided by WordPress and paste it into the.htaccessfile. It typically looks like this:# BEGIN WordPress RewriteEngine On RewriteBase / RewriteRule ^index\.php$ - [L] RewriteCond %{REQUEST_FILENAME} !-f RewriteCond %{REQUEST_FILENAME} !-d RewriteRule . /index.php [L] # END WordPress
Step 6: Log in Again
After updating the files, log out of your WordPress admin dashboard and log back in. This is important to finalize the Multisite setup.
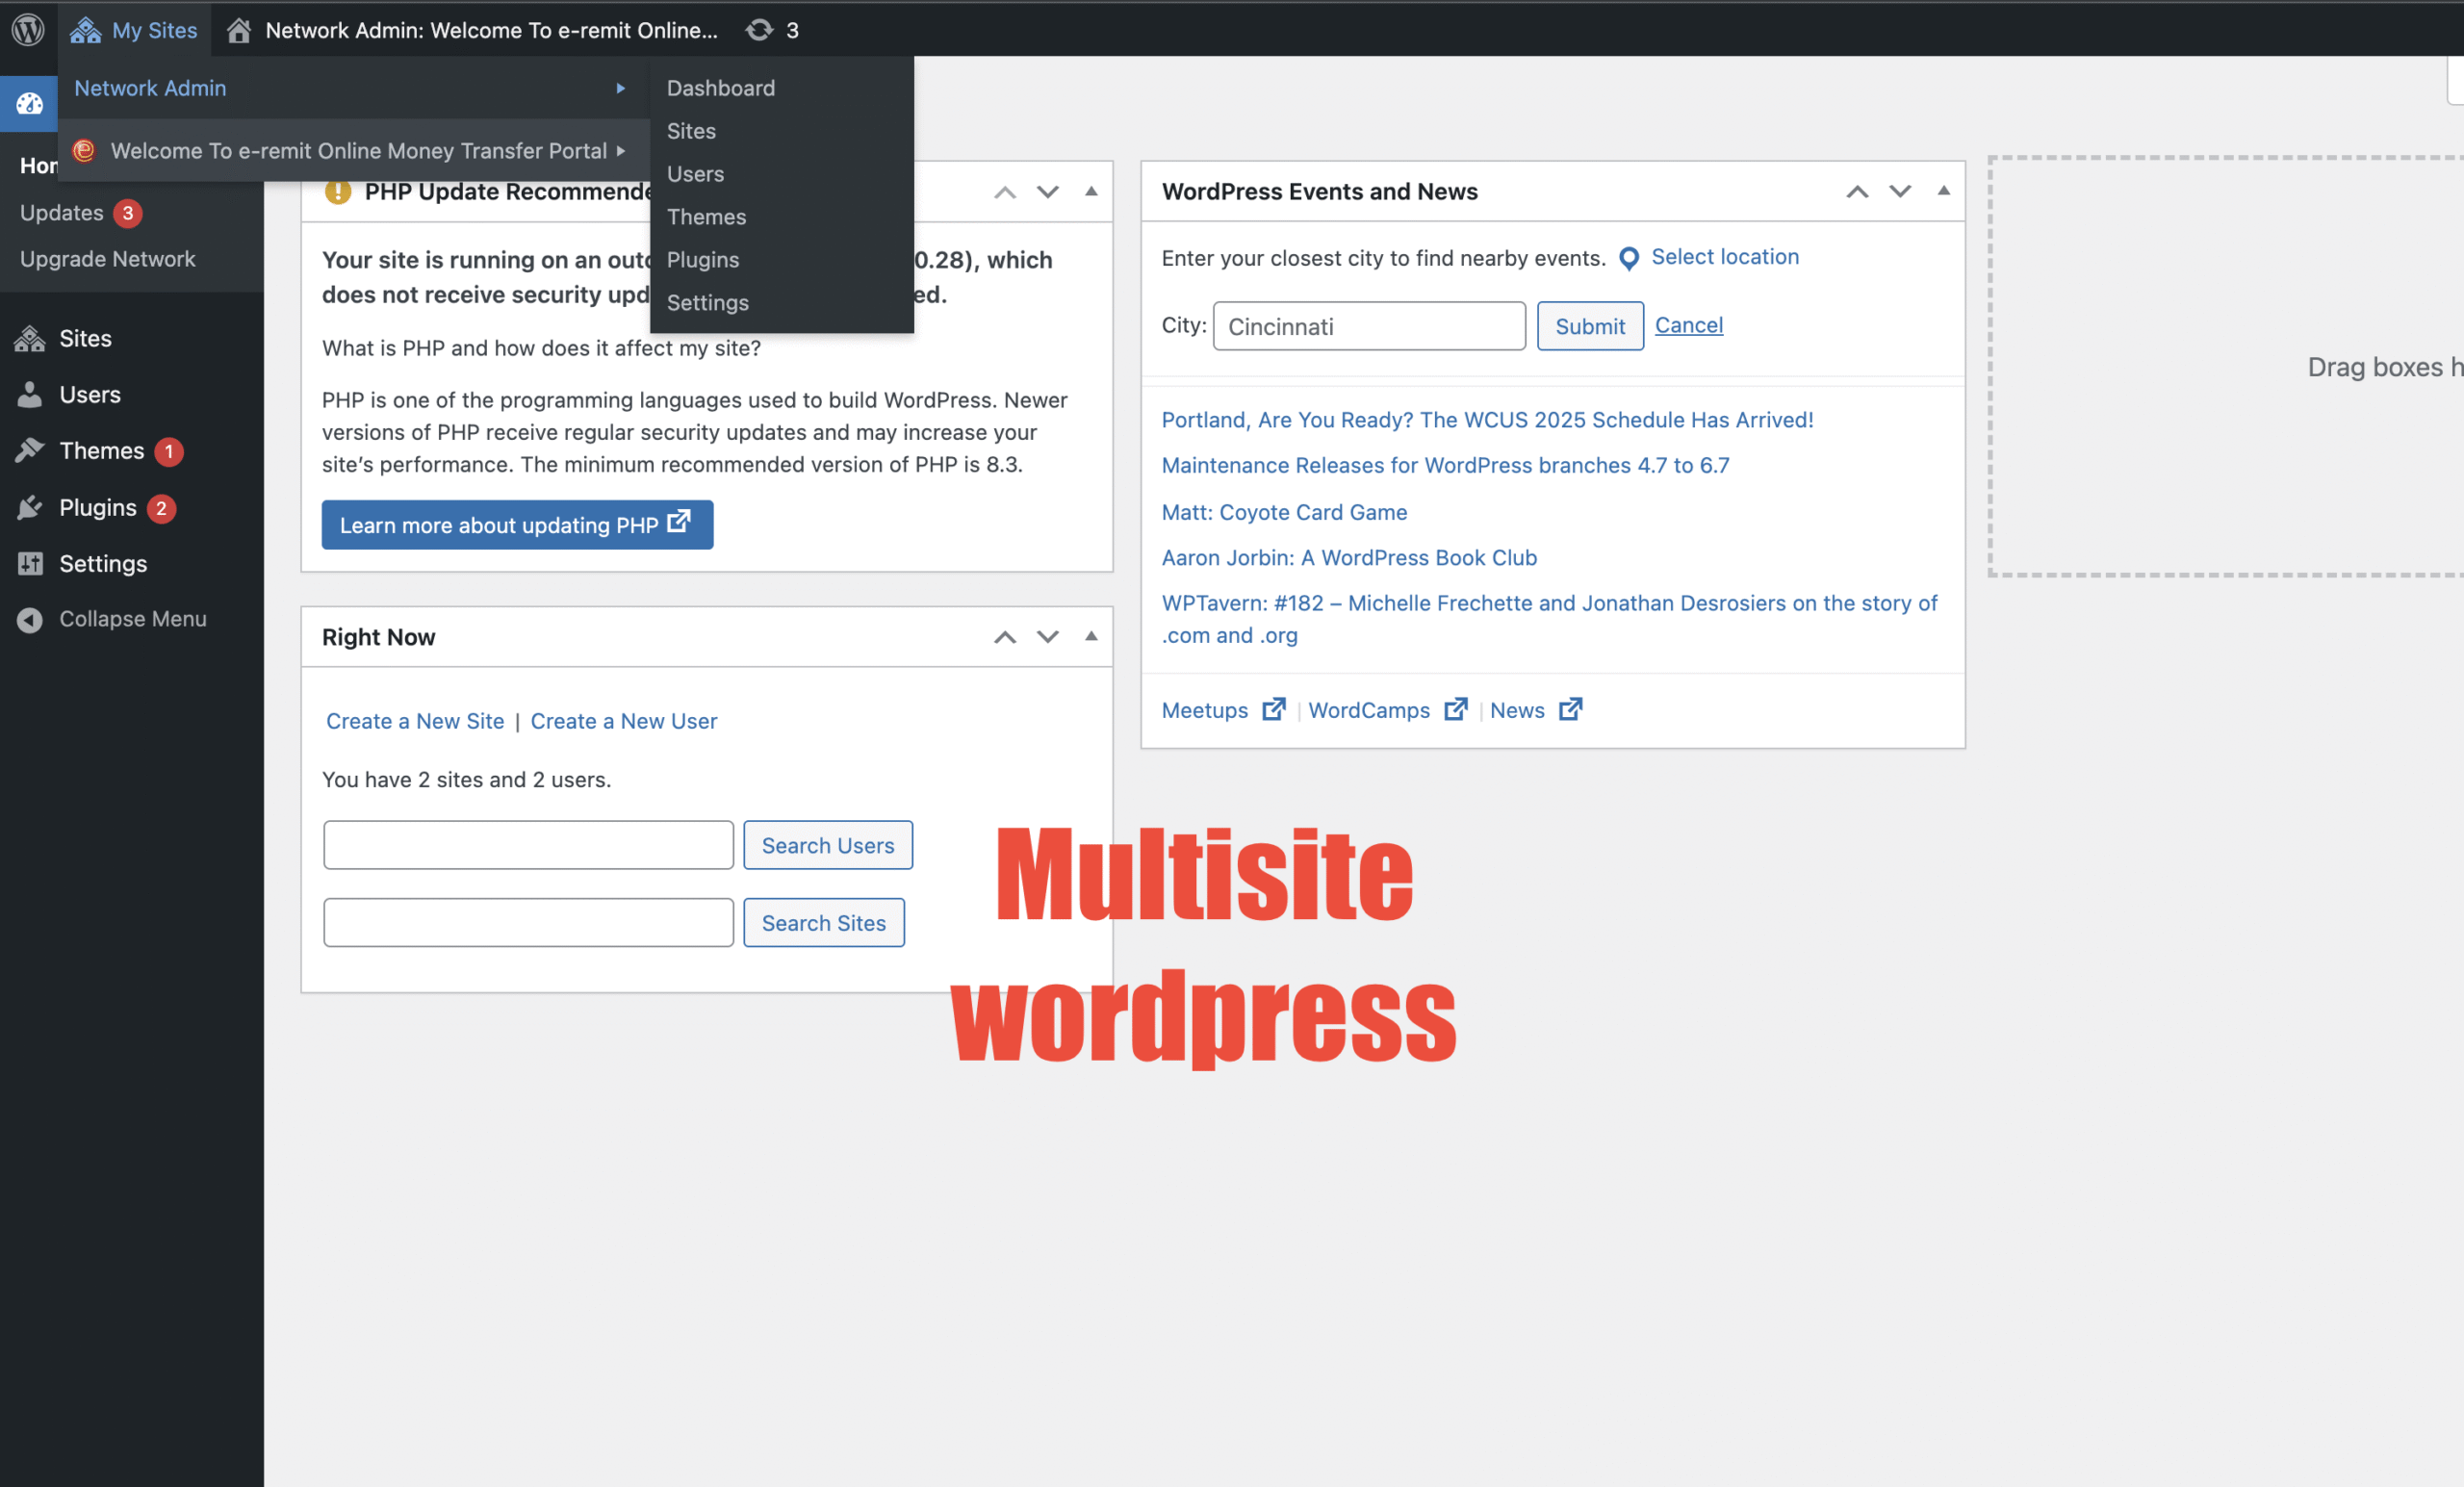
Step 7: Configure Your Network
Once logged back in, you’ll see a new My Sites option in the top-left menu, which allows you to access your network administration area.
- Access Network Admin
Hover over My Sites and click on Network Admin > Dashboard. - Add New Sites
In the Network Admin, you can now add new sites to your network. Go to Sites > Add New to create a new site.
Step 8: Manage Users and Plugins
You can now add users to your network and manage plugins.
- Add Users: Go to Users > Add New in the Network Admin to invite users.
- Install Plugins: Install plugins at the network level by going to Plugins > Add New in the Network Admin.
Step 9: Enable New Sites and Themes
You can install themes and plugins that are available for all sites in your network. To do so, go to Themes > Add New and install any themes you want to be available to your network. After installation, go to Themes > Network Enable to activate them across all sites.
Conclusion
Enabling Multisite in WordPress can transform how you manage multiple websites by allowing you to run and control them all from a single installation. Follow these steps carefully, and you’ll be able to set up a robust and efficient network of websites in no time.


Leave a Reply